
Organizing a Utility Closet Without Losing Your Mind

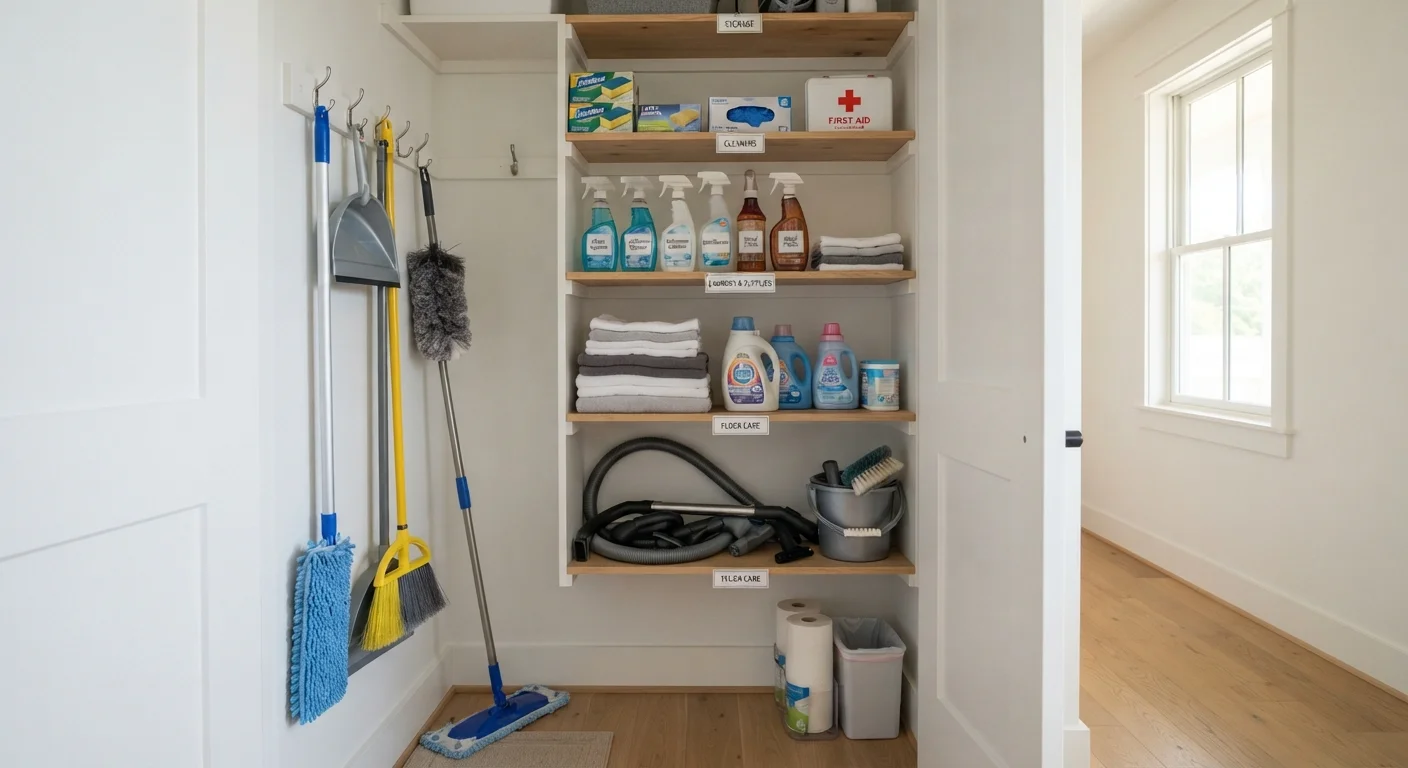
Photo: NemoFinds.com | Search, Explore, Read. editorial
Key Takeaways
- Start by emptying the closet completely before reorganizing — you can't assess what you have otherwise.
- Group items by category and frequency of use, keeping everyday supplies within easy reach.
- Wall-mounted hooks and over-door organizers dramatically increase usable space without adding furniture.
- Labeling shelves takes five minutes and prevents the closet from reverting to chaos within a month.
- Discard expired or duplicate products before putting anything back — it's the biggest space win.
Why Utility Closets Become Chaos Magnets
A utility closet is one of the most used and least thought-about spaces in most homes. Cleaning products get shoved in when you're in a hurry, replacement items land wherever there's a gap, and within a few months you can't find the drain cleaner without unloading half the shelf. The problem isn't the stuff — it's the absence of a system.
Before you spend a dollar on organizers, understand the underlying logic: utility closets fail because items are stored by arrival order rather than by use pattern. Fixing that is the whole job. If you're also working through a broader home setup, the first-home priority guide covers how to think about each room systematically.
What you will need
What You'll Need Before You Start
Gather your supplies before emptying the closet — once everything is on the floor, you'll want to move efficiently. You don't need to buy anything until you know what you're working with, but having a few basics on hand helps.
Trash bags
Collecting items to discard, donate, or relocate during the initial clear-out.
Label maker or masking tape and marker
Marking shelf zones and bins so contents stay consistent over time.
Over-door organizer or pocket rack
Adds usable vertical storage on the back of the closet door for small items.
Wall-mounted hooks or a pegboard strip
Keeps mops, brooms, and dustpans off the floor and out of the way.
Plastic bins or stackable containers
Groups small items by category so they don't scatter across shelves.
Measuring tape
Confirms shelf spacing before purchasing any new storage hardware.
Step-by-Step: Organizing Your Utility Closet
Follow these steps in order. Skipping the empty-and-assess phase is the most common reason a reorganization effort doesn't stick.
Empty the closet completely
Pull everything out and put it on the floor or a nearby table. This is non-negotiable — you cannot accurately assess what you have or how much space you're working with while items are still in place. Wipe down the shelves while they're empty.
Discard and consolidate
Go through every item. Discard anything expired, nearly empty, or that you haven't used in over a year. Consolidate duplicates — if you have three half-used bottles of the same cleaner, pour them together. This step alone often frees up 20–30% of your storage space.
Sort into categories
Group what remains into logical clusters: floor cleaning tools, surface cleaners, bathroom-specific products, laundry supplies, paper goods, and miscellaneous hardware or batteries. Use the floor to lay them out by group before touching the shelves.
Assign zones based on frequency of use
Items used daily or weekly go at eye level and within easy reach. Less frequent items — seasonal cleaners, backup stock — go on higher or lower shelves. Tall tools like mops and brooms should hang on hooks or stand in a purpose-built floor section, not lay flat where they become obstacles.
Install hooks and use vertical space
If your closet has a bare back wall or unused door, this is your biggest efficiency gain. Over-door pocket organizers hold spray bottles, rags, and small supplies. A simple pegboard or hook strip on the side wall keeps handled tools vertical and accessible. Measure before purchasing any hardware.
Label every zone
Label the shelf zones, bins, and hooks — even if the system seems obvious to you now. Labels remove the ambiguity that leads to items drifting out of place. Use broad category names: Floor Care, Sprays & Wipes, Paper Goods, Laundry. Anyone in the household can then find and return items without guessing.
Stock Depth: Less Is More
Staying Safe with Cleaning Products
Once everything is back in place, storage order matters for safety — not just convenience. Never store cleaning products near each other without checking compatibility. Certain household cleaners create hazardous reactions when they mix, even accidentally. Our guide to cleaning product combinations to avoid explains the specific pairings worth knowing.
Keep Chemicals Separated by Type
Also keep this closet locked or latched if there are children in the home — most cleaning products are harmful if ingested. A simple cabinet latch costs very little and removes a significant hazard.
Keeping It Organized Long-Term
The maintenance phase is where most people lose ground. A reorganized closet can revert to chaos in four to six weeks without a simple rule in place: everything goes back in its labeled spot, every time. That's the entire maintenance system.
Do a quick five-minute reset once a month — check for products that have migrated, discard anything that's run out or expired, and rotate new stock to the back. If you do seasonal home maintenance checks, add the utility closet to that routine so it gets a deeper review a few times per year.
One practical note on shopping habits: utility closets overflow when households overbuy on bulk deals. The space you have is a natural limit — if something doesn't fit, you likely have enough already. For a broader look at how retail environments nudge over-purchasing, see how grocery store layouts are designed to drive impulse buys.
The content on this site is for informational purposes only and is not a substitute for professional advice. Always consult a qualified professional for guidance specific to your situation.