
Fluid Levels Every Driver Should Know How to Check

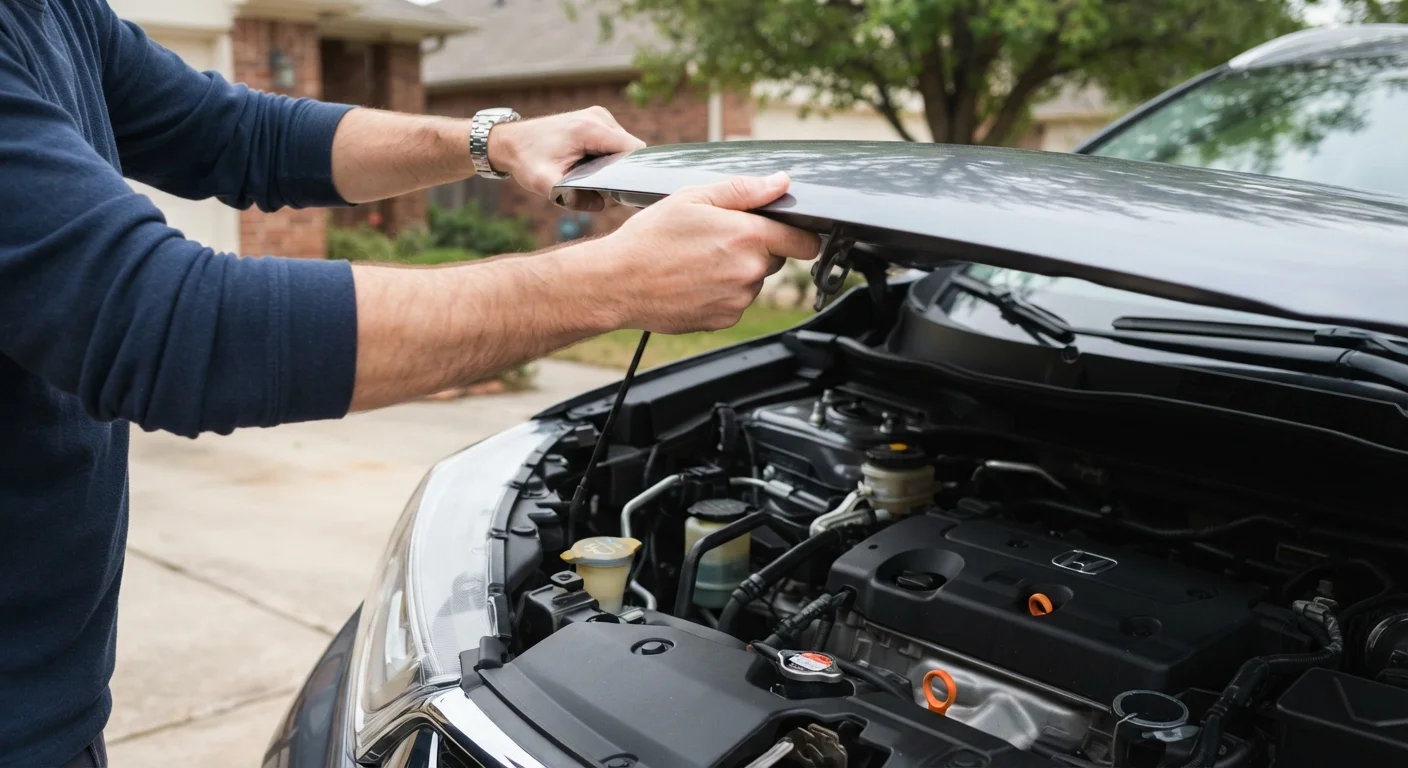
Photo: NemoFinds.com | Search, Explore, Read. editorial
Key Takeaways
- Six fluids keep your car running safely: engine oil, coolant, brake fluid, transmission fluid, power steering fluid, and windshield washer fluid.
- Most fluid checks require only a clean rag and a few minutes with the engine off and the car on level ground.
- Low or discolored fluid often signals a leak or a maintenance issue worth addressing before it becomes a costly repair.
- Consult your owner's manual for fluid specifications - using the wrong type can cause damage.
- Some fluids, like brake fluid, involve sealed systems - persistent drops in level warrant a mechanic's inspection.
Why Fluid Levels Matter More Than Most Drivers Realize
Your vehicle depends on several distinct fluids to lubricate moving parts, transfer heat, transmit force, and protect components from wear. When any one of these drops below the safe range - or degrades in quality - the consequences can escalate quickly from a warning light to a repair bill that runs into thousands of dollars. The good news: checking these fluids is one of the most accessible forms of preventive maintenance any driver can perform.
If you're new to car ownership, fluid checks are covered in our Car Maintenance for First-Time Owners guide as one of the first skills to develop. And if a dashboard warning light is what brought you here, this guide will help you understand what to look for under the hood.
Never Check Fluids on a Hot Engine
The six fluids covered in this guide - engine oil, coolant, brake fluid, transmission fluid, power steering fluid, and windshield washer fluid - together account for the majority of preventable mechanical failures in passenger vehicles.
What You'll Need Before You Start
You don't need specialized tools for most fluid checks. The items below are sufficient for a complete inspection on virtually any passenger vehicle.
Clean lint-free rags or paper towels
Used to wipe dipsticks clean before re-inserting for an accurate fluid level reading.
Flashlight or work light
Helps illuminate the engine bay and fluid reservoirs in low-light conditions.
Owner's manual
Identifies the correct fluid specifications, dipstick locations, and reservoir markings for your specific vehicle.
Nitrile gloves
Protects hands from contact with automotive fluids, some of which are toxic or irritating to skin.
What you will need
Wrong Fluid Types Can Cause Serious Damage
For a broader picture of seasonal maintenance - including which fluids deserve extra attention before winter or summer - see our seasonal car maintenance guide.
Step-by-Step: How to Check Each Fluid
Work through each fluid in the order below. Taking a systematic approach ensures nothing gets overlooked and reduces the chance of making a mistake - such as confusing reservoir locations.
Park on level ground and pop the hood
Pull onto a flat surface and turn off the engine. Engage the parking brake. Locate the hood release lever - usually positioned under the dashboard on the driver's side - and pull it. Then release the secondary safety latch at the front of the hood and prop it open using the hood support rod.
Check the engine oil
Locate the engine oil dipstick - typically a brightly colored ring or handle near the front or side of the engine block. Pull it out, wipe it clean with a rag, reinsert it fully, then pull it out again. The oil level should fall between the two marks (often labeled MIN and MAX or indicated by hash marks). The oil itself should appear amber to dark brown. Black, gritty, or milky oil suggests it's overdue for a change or signals a more serious problem.
Check the engine coolant level
Do not open the coolant reservoir or radiator cap on a hot engine. Once cooled, locate the translucent plastic coolant reservoir - usually connected to the radiator by a hose. The level is readable from the outside; it should sit between the MIN and MAX lines marked on the reservoir. Coolant is typically bright green, orange, or pink depending on the formulation. A consistently low level may indicate a slow leak.
Check the brake fluid
The brake fluid reservoir is a small, capped container located near the firewall on the driver's side of the engine bay. On most vehicles, the level is visible through the translucent reservoir without opening it. It should be between the MIN and MAX markings. Brake fluid naturally darkens over time and absorbs moisture; if it appears very dark, a flush may be overdue. A significant or sudden drop in level warrants professional inspection, as the brake system is sealed.
Check transmission fluid (if accessible)
Many vehicles have a transmission dipstick similar to the engine oil dipstick; others have sealed transmissions that require a mechanic's lift and tools. If yours has a dipstick, check it with the engine warm and running in Park (consult your manual - procedures vary). Transmission fluid should be pinkish-red and relatively clear. Brown or burnt-smelling fluid is a warning sign. If there is no dipstick, transmission fluid checks require professional equipment.
Check power steering fluid and windshield washer fluid
Power steering fluid: Not all vehicles have a hydraulic power steering system - many newer cars use electric power steering with no fluid reservoir. If yours does have one, locate the reservoir (labeled on the cap) and check the level using the dipstick attached to the cap or the markings on the side. Windshield washer fluid: This reservoir is clearly marked with a windshield/wiper symbol and can be checked and topped off at any time - it poses no safety risk if slightly overfilled. Use a washer fluid rated for your climate to prevent freezing in cold months.
Make It a Monthly Habit
If you discover a fluid that's consistently low between checks, that pattern suggests a leak or consumption issue that goes beyond a simple top-off. In that case, our guide on when to DIY vs. see a mechanic can help you decide the right next step. Brake concerns in particular - such as a soft pedal or the brake fluid level dropping - should always involve a professional inspection. Learn more in our brake symptoms guide.
The content on this site is for informational purposes only and is not a substitute for professional advice. Always consult a qualified professional for guidance specific to your situation.